Menus and Side Menus
Menus
You can create and modify menus to make navigating your site easier. To get to the menu builder, go to “Menus” under the “Appearance” bar on the left-hand menu.

Here you can build new menus, choose their locations, or modify the structure of a menu. The "Primary Menu" is the menu that appears at the top of every page.
Side Menus
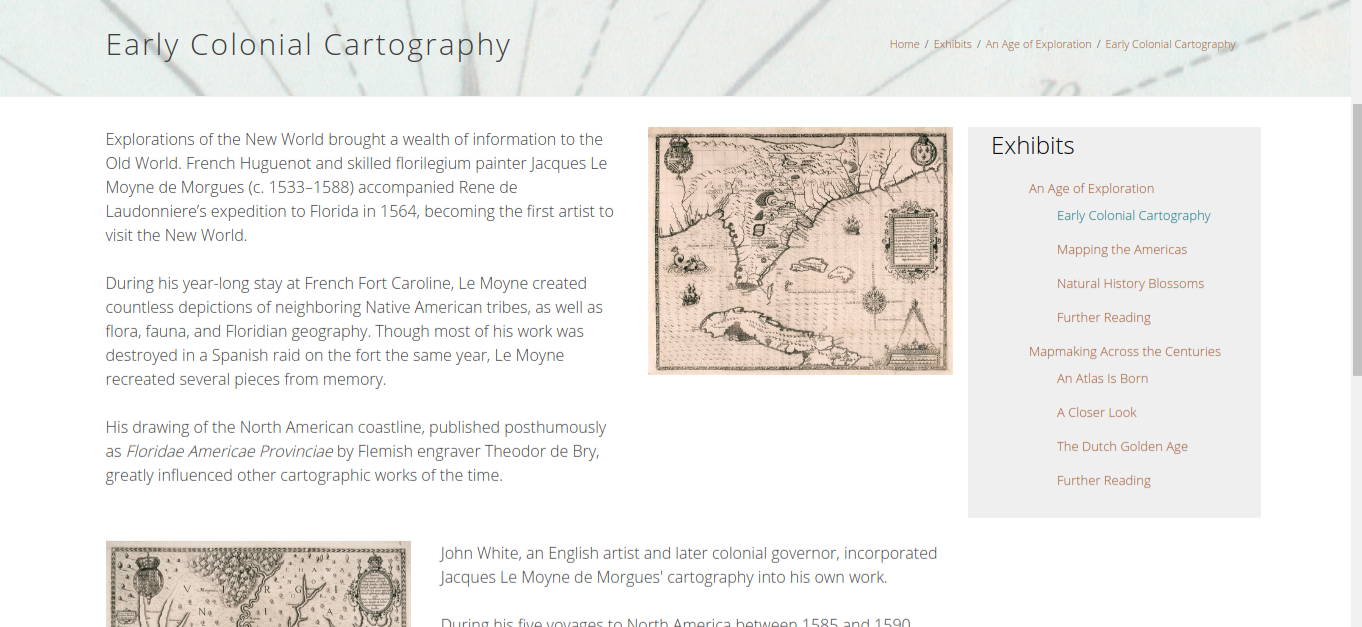
You may want to provide your user with another navigation option that complements the navigation menu at the top of your site. Any page on your site can have one of these “side menus,” which are anchored to either the left or right of the page. Such a menu can scaffold a section of your site so that your exhibits are not overly-nested on the top navigation bar; this way, your site’s user will not have to mouse through multiple submenus to find the exhibit they want to view. You may create as many discrete side menus as you have pages on which they would be useful.
Enabling and creating side menus in WordPress is a multi-step process. First, you must enable the menus to display on the pages of your WordPress site. In the admin panel, navigate to “Appearance” in the left-hand menu and select “Customize.”

On the left side of the “Customize” screen, select “Layout,” and then “Single Page.”
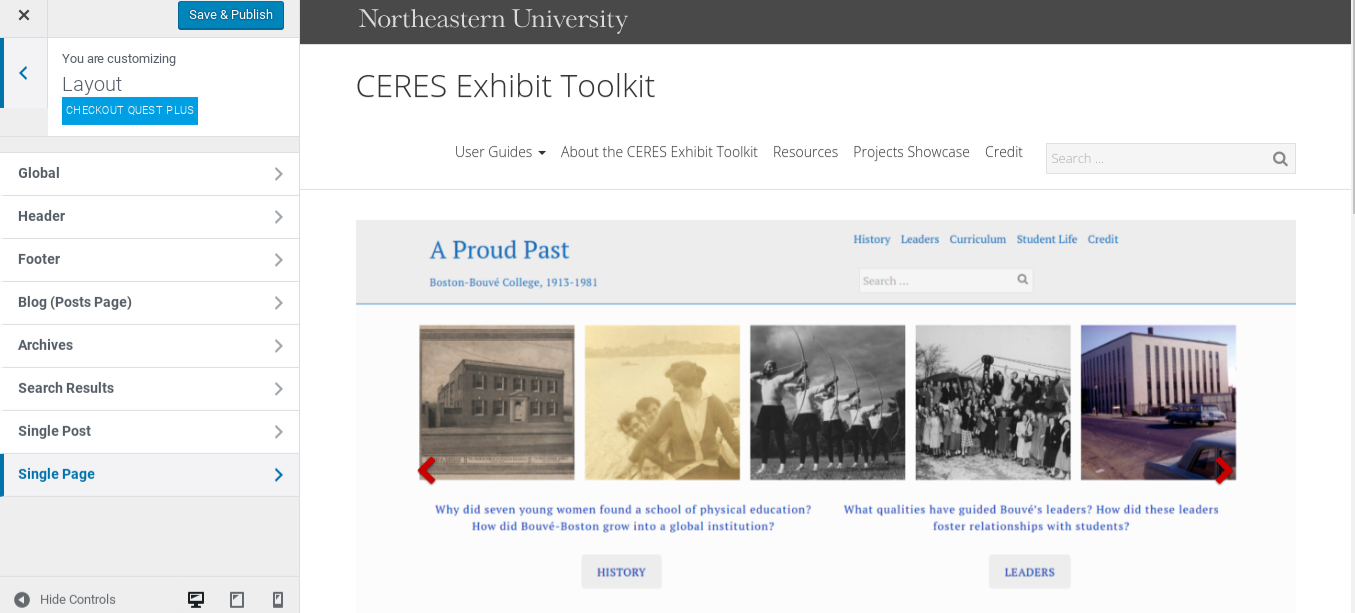
The first drop-down option, “sidebar position,” is the option that toggles whether a side menu you create later will display. Here, you can select “Left” or “Right,” which will designate where the menus will be anchored.

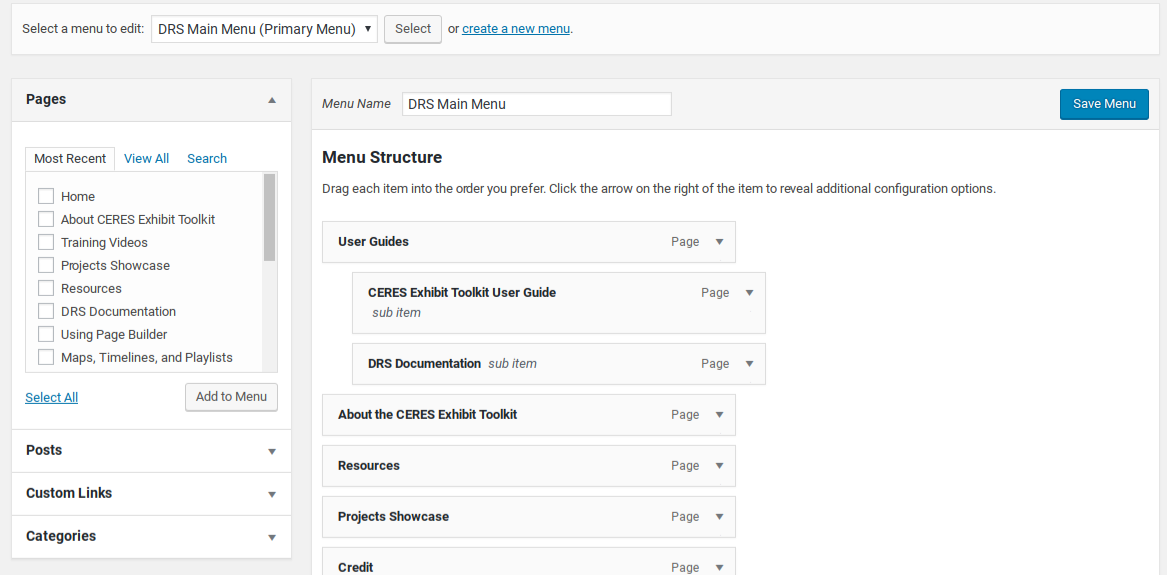
Now that you have enabled the feature, you can customize your own navigation side menus. Back in the admin panel, navigate again to “Appearance” and select “Menus”–the same place that you would go to modify your site’s top navigation bar. To create a new navigation menu, click the “create a new menu” link, which is near the top of the page under the “Edit Menus” tab.

You may now name your menu and add pages or posts to it, just as you would to your top navigation bar. Once you have created your menu, you must choose where you want the menu to display. Navigate again to “Appearance” and select “Widgets.”

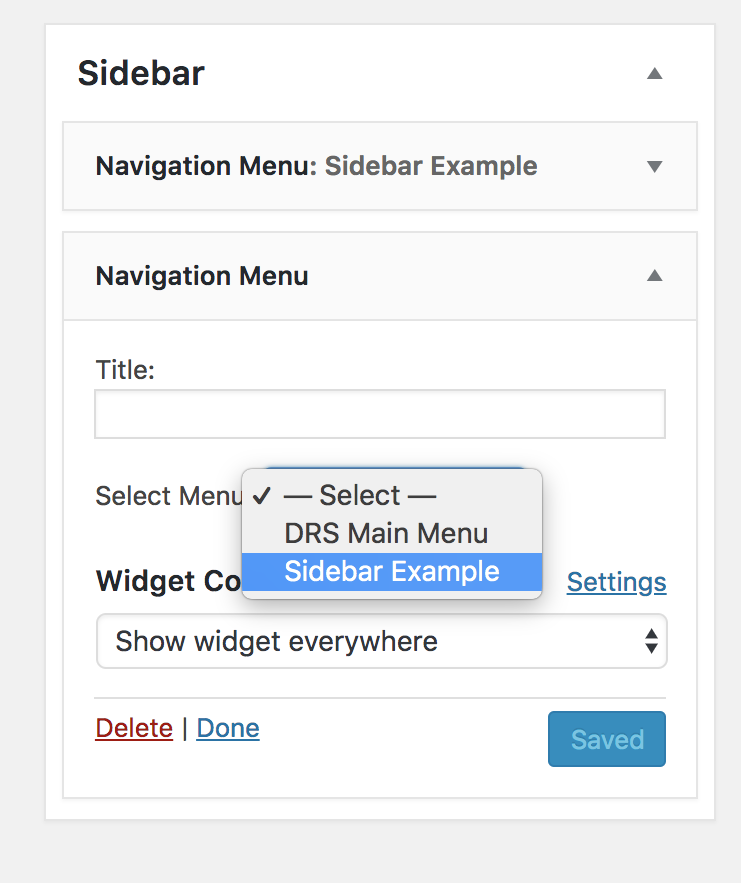
Drag the “Navigation Menu” box, listed under “Available Widgets” on the left-hand side of the screen, into the “Sidebar.”
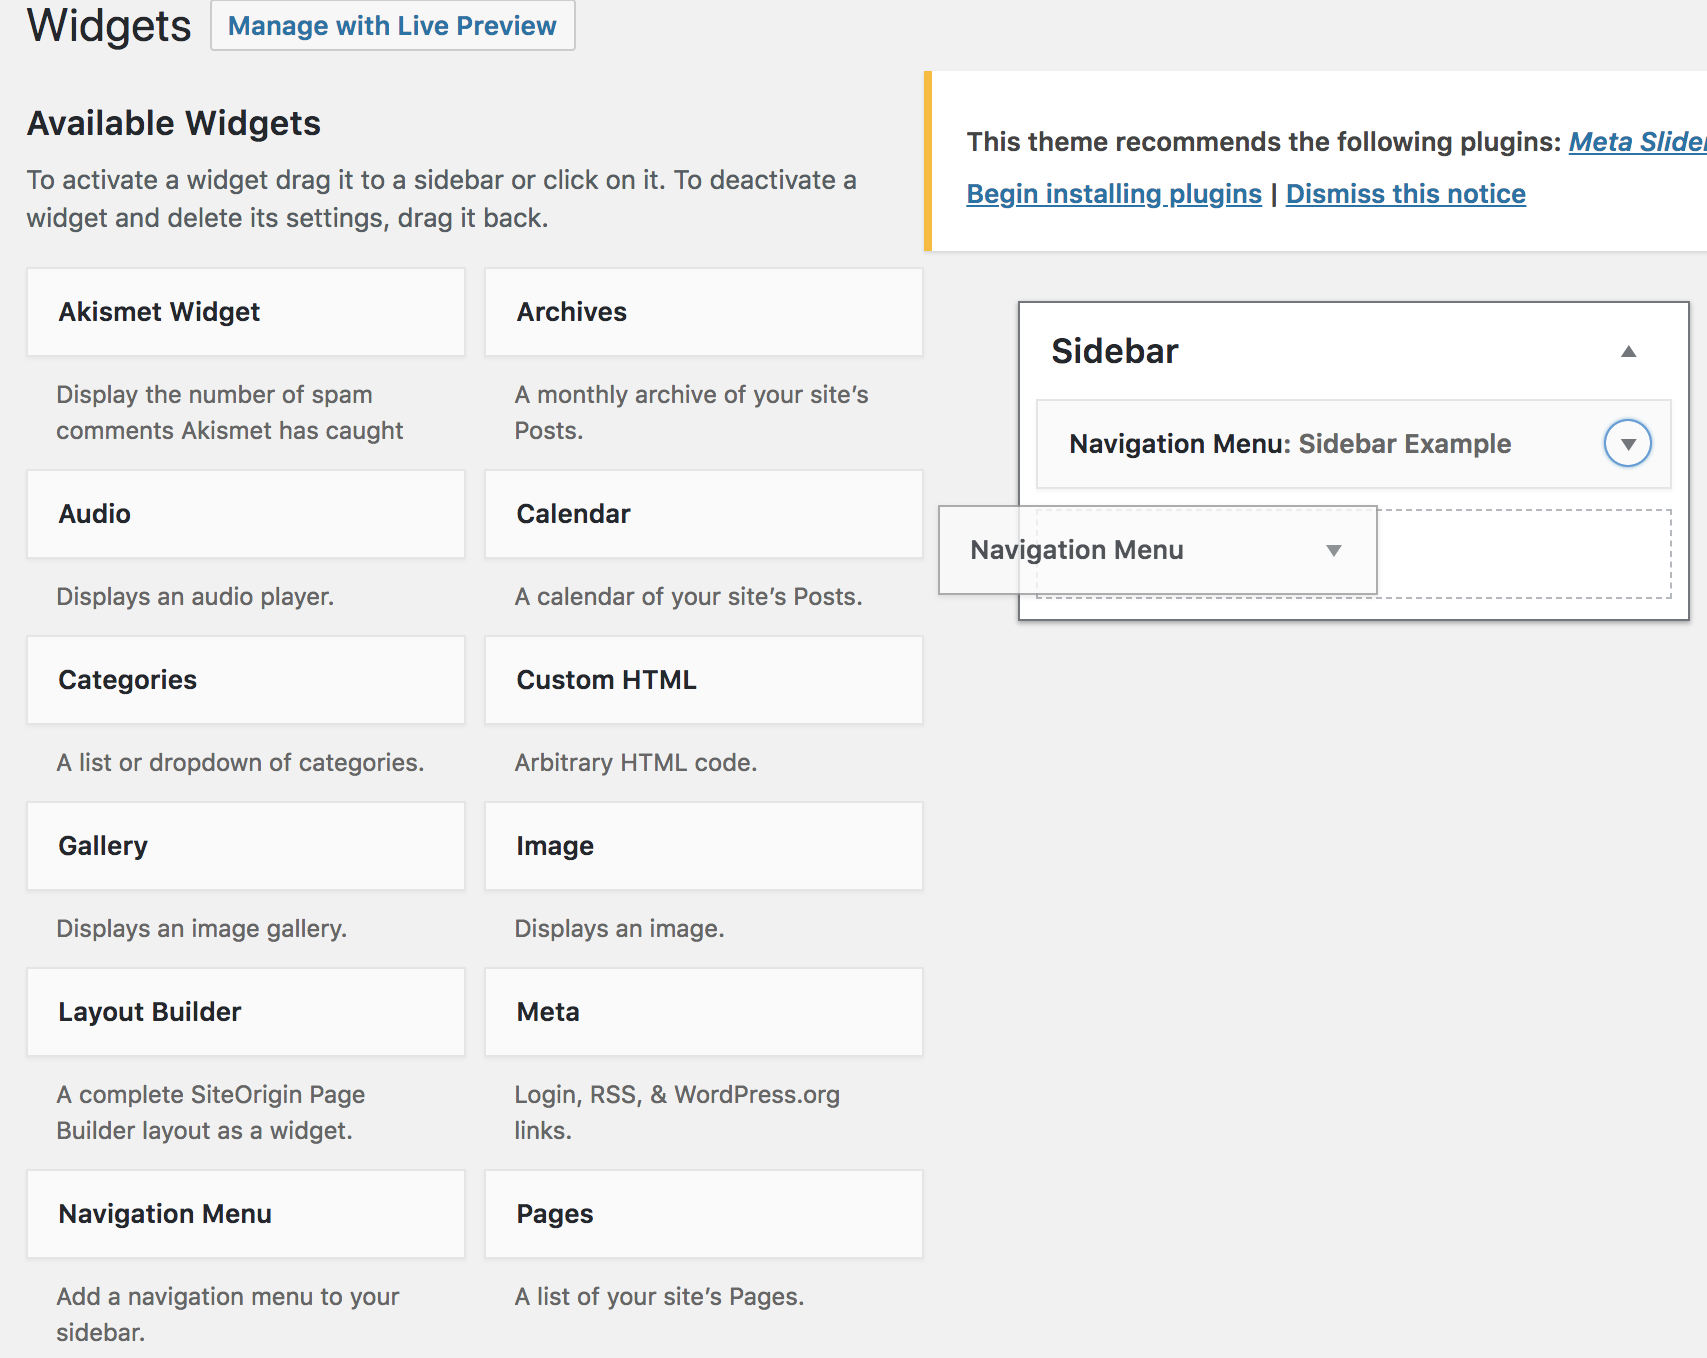
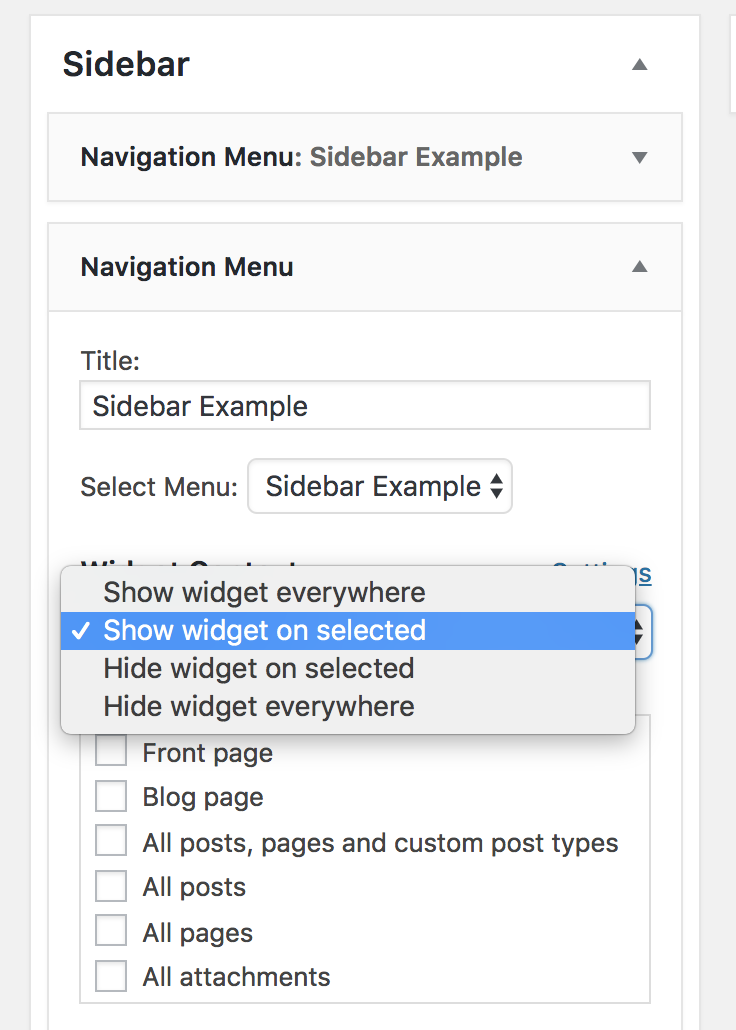
Under “Select Menu,” choose the menu that you created. Your menu is now anchored to the side of every page on your site. You likely want your side menu to display on certain pages only. If so, choose “Show widget on selected” from the “Widget Context” dropdown list.
From here, you could select global sections of your site, but if you want it to display only in certain areas you will need to specify specific pages in the “Target by URL” box. First, select "show widget on selected."
Then, in the text box, copy and paste the URL fragment of the page on which you want the side menu to appear–this will be everything after the “http://…northeastern.edu/” that appears in your browser’s address bar.

Pages can have multiple side menus by putting several widgets to the same pages. They will appear on the page in the same order as they are listed in the widget box.