Customizing Single Item Pages
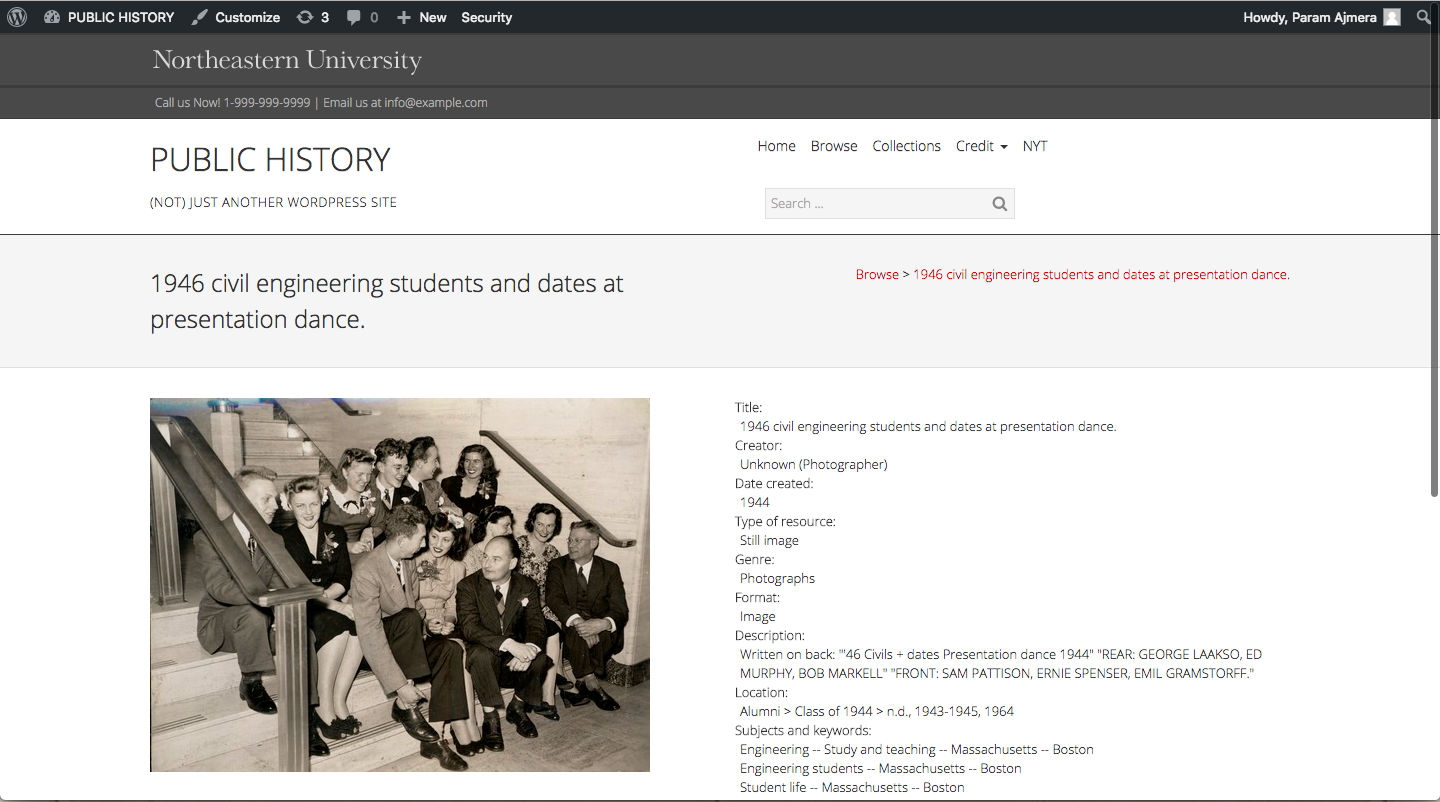
The single item page displays metadata and related to content of each of your items in your DRS collection and from the DPLA.
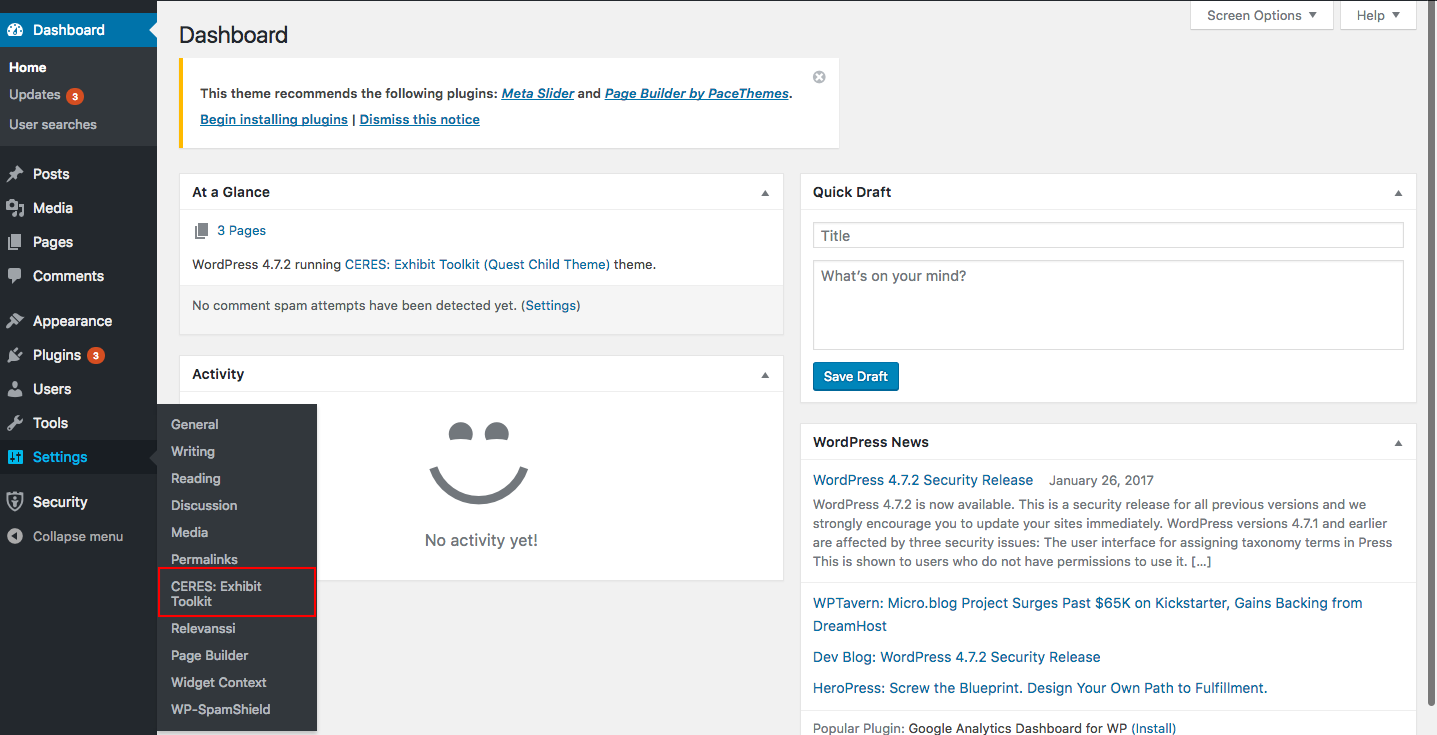
To customize which metadata fields appear in the single item page, first go to settings in the dashboard, then click on CERES: Exhibit Toolkit in the menu on the left-hand side.
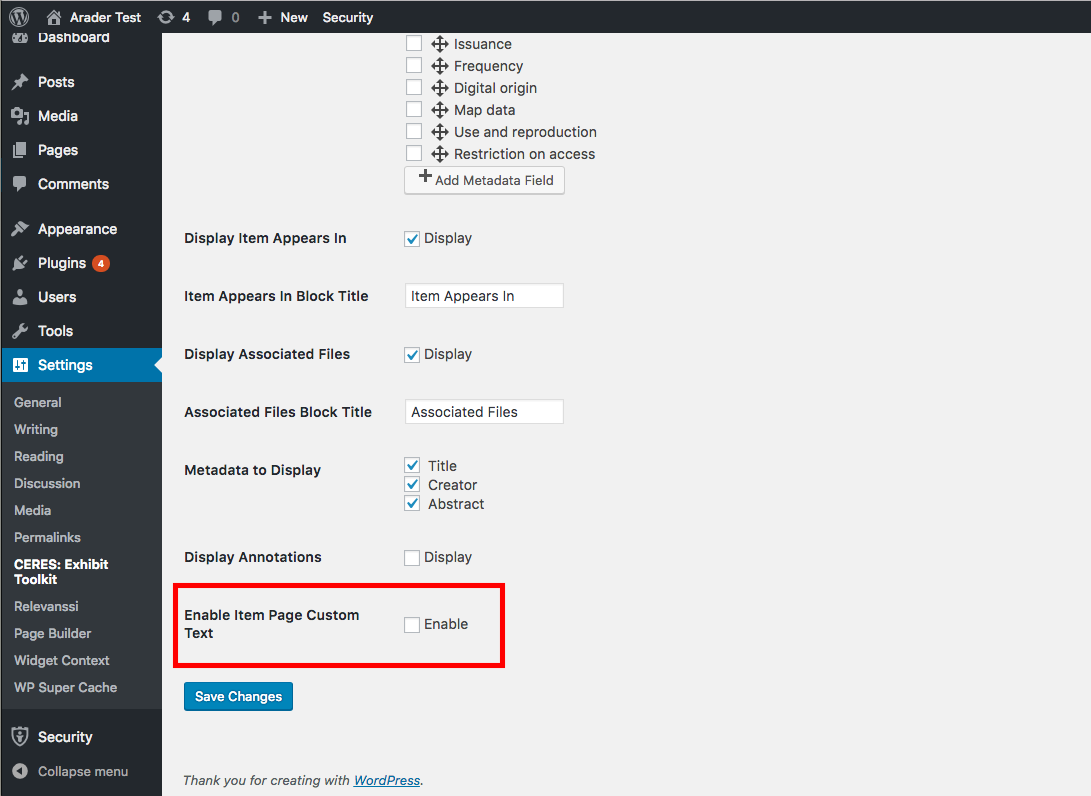
Next, scroll down until you see the heading “Single Item Page Settings.” Here you can select which metadata fields you would like to display in the single item page by checking the appropriate box. Furthermore, you can change the order in which these fields appear by dragging each field up or down. You can also add metadata fields by clicking the “Add Metadata Field” button at the bottom. It is important to note that if none of the fields are selected, all metadata will display in the default order. Once you have made the desired changes, click “Save Changes” at the very bottom of the page to implement the changes.

Note: Metadata customization is a global change. Whatever field you select to display will display on every item page across your website.

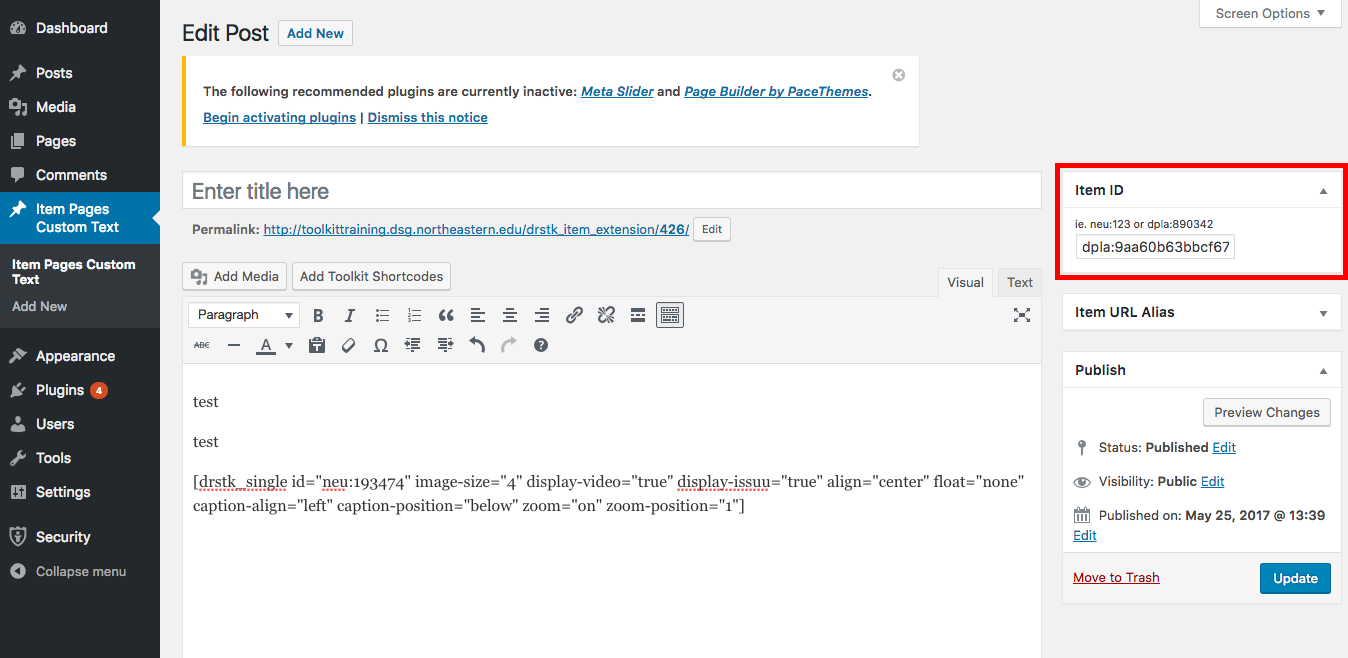
Nearly all of the text that appears in the Single Item Pages is drawn from the metadata associated with the item. However, CERES has functionality to add custom text for single item pages. This text appears below the item thumbnail and metadata. To add custom text to single item pages, first go to the CERES: Exhibit Toolkit page in the Settings tab in the Dashboard. Scroll to the bottom of this page, select the box for "Enable Item Page Custom Text," and click save changes. This will create a new "Enable Item Pages Custom Text" field in the Dashboard menu located below the Comments field.
In this section, click "add new" and enter the item ID for which you would like to add the custom text. The item ID can be found in the URL of the single item page that you are would like to edit. If you are editing an item from Northeastern's DRS, then the ID is the "neu:XXXXX," and if you are editing an item from the DPLA, then the ID is "dpla:XXXXX" in the URL. After pasting the item ID, you can add a title and your custom text. Designing and editing custom text is done through the Visual Editor, which gives users the ability to add content from the DRS and the DPLA. Finally, clicking "publish" will make these changes visible on the single-item page.