Dashboard
Introduction to the Dashboard
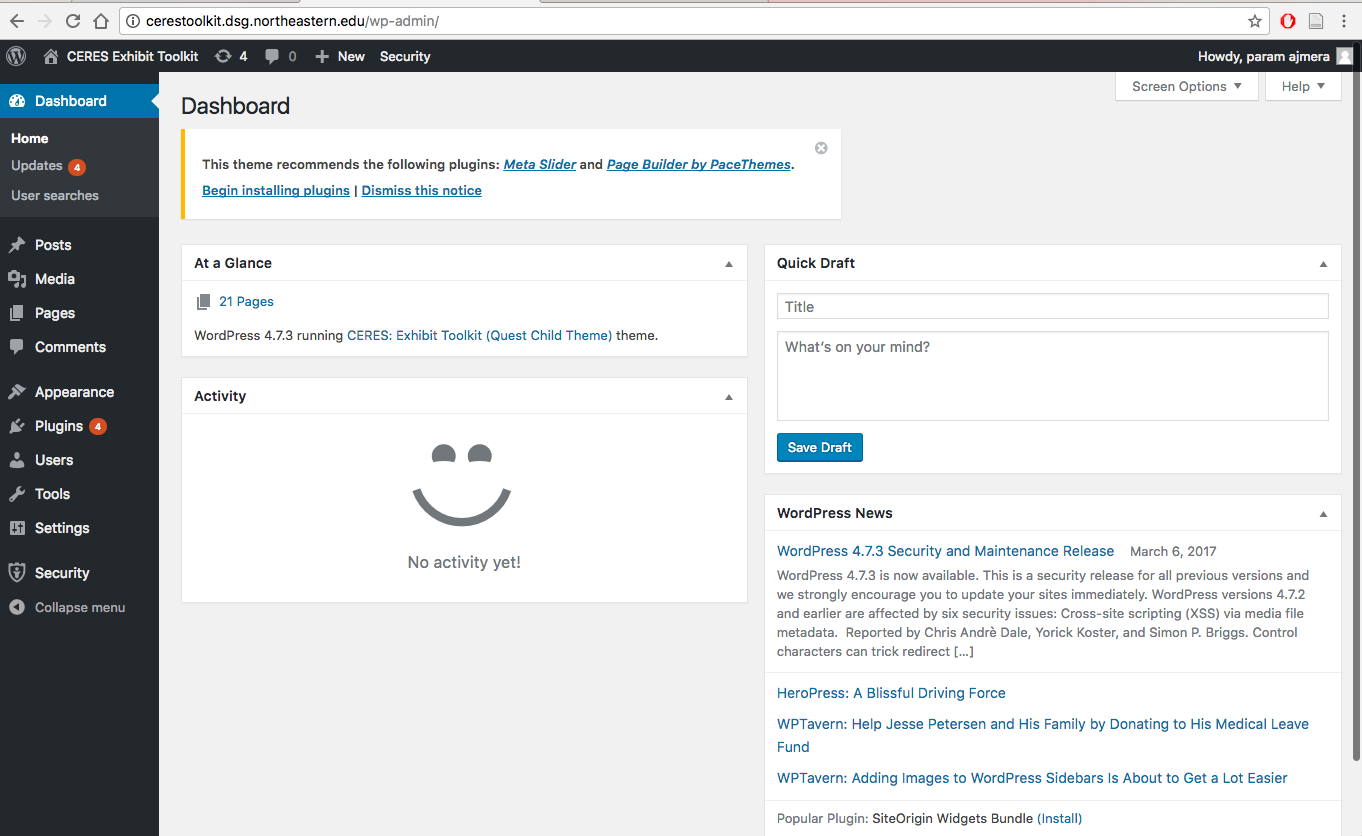
Upon logging into your website, you will be directed to the Dashboard, which is the central location through which you can make edits to your website, such as adding/managing pages, and changing menu structures, colors, fonts, and other features. Once you are logged in, you can always access the Dashboard by hovering the cursor over your site name on the top-left of the screen and clicking Dashboard from the dropdown menu.
You can add content to your website by clicking either "Posts" or "Pages" in the Dashboard menu. Posts refer to the practice of blogging where entries are listed in reverse chronological order. Pages on the other hand, are static and are not listed by date. An "About" page is the classic example, which is a discrete location that isn't usually updated with the same frequency as a blog. Further information on the differences between Pages and Posts can be found in the WordPress Codex. To learn how you can add content to your Pages or Posts, please visit our section on Using Page Builder.
The "Media" option on the Dashboard allows you to add media, such as pictures, videos, PDFs, etc. to your CERES website, which can be used in building Pages and Posts. Uploading items in the Media section should not be confused with uploading items to the DRS. The Media upload option in the Dashboard should only be used for items that do not have robust metadata attached to it, or items that you will be using temporarily which will be replaced at a later stage of your project. Furthermore, there are size limits on the kinds of items that can be uploaded through the Media option and so large sized files should be uploaded to the DRS. Please refer to our section on Using DPLA and Media Library Items option for further information on how to add/delete/modify items.
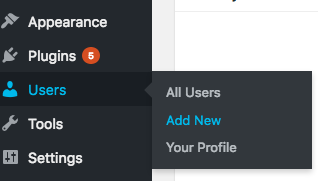
The Dashboard also allows you to add other users to your CERES website, giving them different levels of access to change or add content to your website. To add new users, click on the "Users" link in the Dashboard menu, and then click "Add New" on the top-left of the screen.